Interface QubIDE sinclair QL instalation
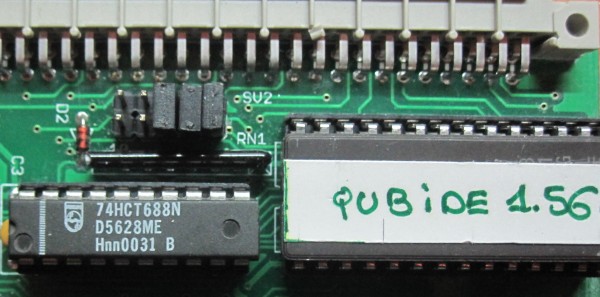
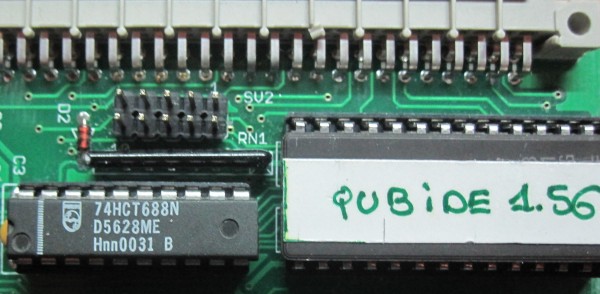
Step 1: QubIDE jumper configuration.
It's necessary to indicate in with memory position will be the QubIDE EPROM. This position depends on Sinclair QL ROM and other extra
interfaces are installed. Please read the original explanation.
- ROM sinclair QL 48K: JM, JS, MINERVA, ....
Recommended option: 0C000h. J3,J4,J5 jumpers.
- ROM sinclair QL 64K: JS+TK2, MINERVA+TK2,....
Recommended option:FC000h. No jumpers.
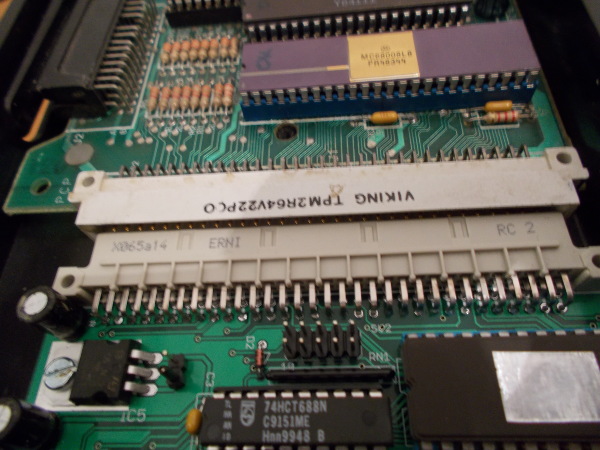
Step 2: Connect the inteface to sinclair QL.
- Remove the left side cover of the Sinclair QL.
- Insert the interface.
- Note: Qubide connector sometimes is a bit lower that QL connector and It's a bit hard put the qubide.
Introduce the QubIDE until it reach the connector and then you will feel it aligns with sinclair QL bus connector.
At that time apply some strength and the interface will introduce around 0.5 cm. QubIDE interface will fit in this way:
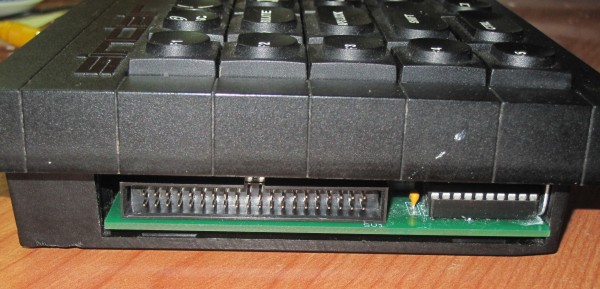
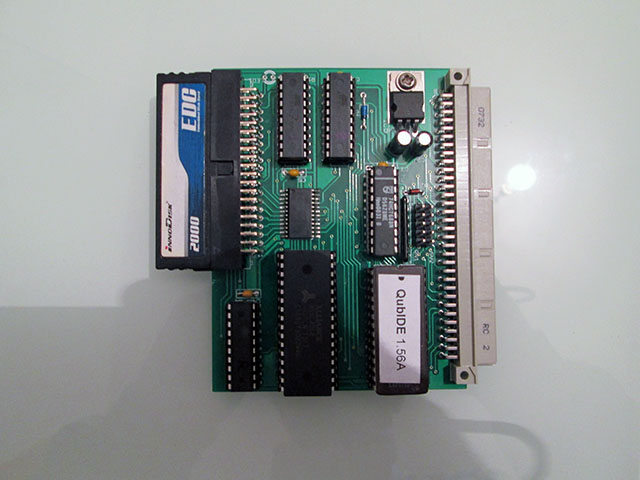
Step 3: Connect the IDE unit ( HD, CD-IDE or SD-IDE adapter, DOM ).
The QubIDE has been tested with the following adapters:
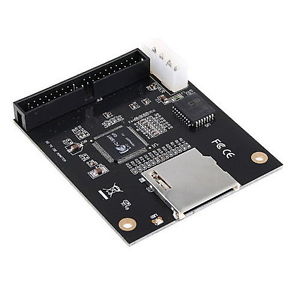
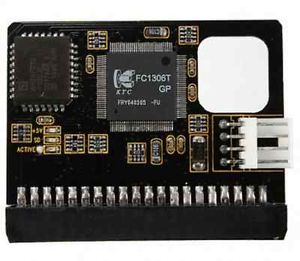
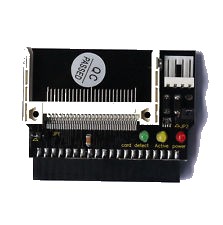
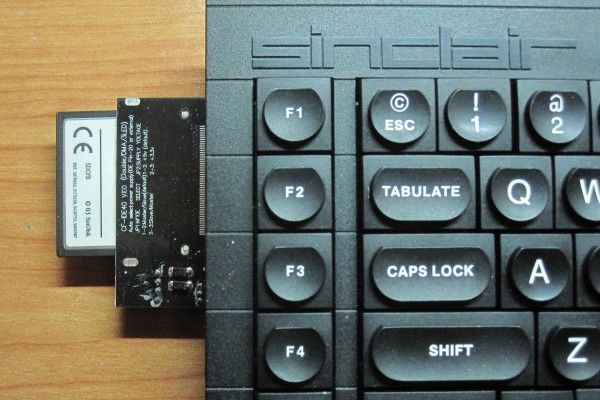
There are two SD-IDE adapters and a CF-IDE one. All of them work well but Compact flash unit may present a minor problem with geometry. In some
cases the adapter must be modified to take power from the IDE connector pin 20.
Sinclair QL + QubIDE + CF-IDE adapter photo:
It has also been tested the DiskOnModule :
Step 4: Start sinclair Ql + QubIDE + IDE device.
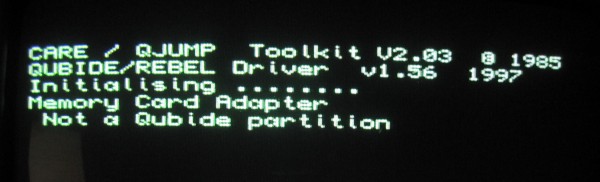
The first time you boot the sinclair QL, the following screen will appear:
- QubIDE ROM (1.56v) is displayed.
- There is a IDE device. In this example, a 32MB SD.
- The IDE device is not formatted.
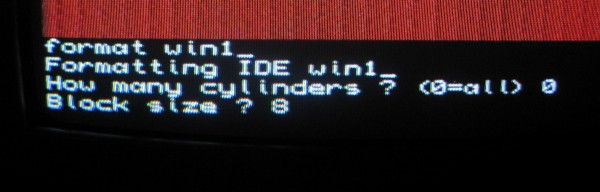
Step 5: Format IDE device.
It's very important to read the original explanation before you format the IDE device.
Depending on ram memory, IDE device capacity and the space you want to give to the primary partition, we must choose different options.
Example 1: SD device with with size <= 128MB.
- 32MB SD memory.
- One partition with all SD space.
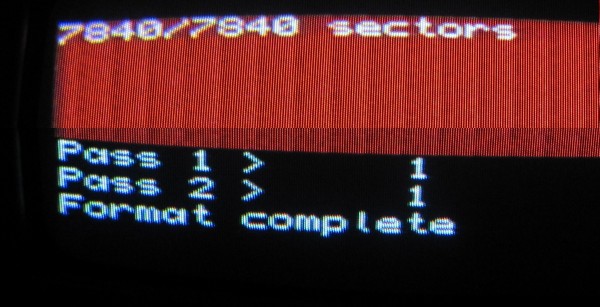
- Small block size (8).
- The Sinclair QL format the SD making 2 passes.
Example 2: CF device with with size <= 128MB.
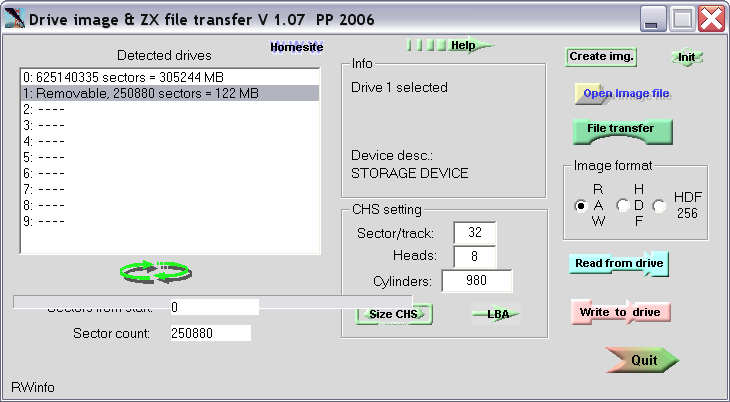
- Important note. To avoid "fat is wrong" problem, I recommend you know the geometry of your CF. I use the Pera Putnik Drive image program.
- 128MB Compact flash.
- One partition with all CF space.
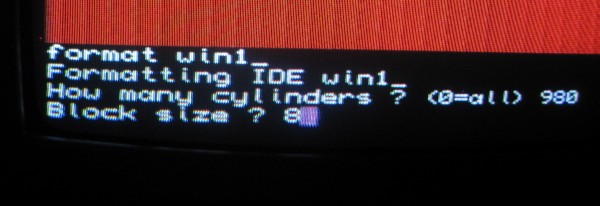
- Don't use 0=all option
- you'll indicate the cylinders of the Compact Flash (In this example 980).
- Small block size (8). Other good size is 16
Example 3: Devices with with size > 128MB.
If you have a IDE device bigger that 128MB and/or you want to have multiple partitions, you will have to use the partition_exe
that come on the QubIDE disk utility 2.01 version (The 1.56 version of partition_exe application does not work). This program can be downloaded at:
Dilwyn page
After downloading the disk, take the partition_exe program and introduce it in your IDE device using this
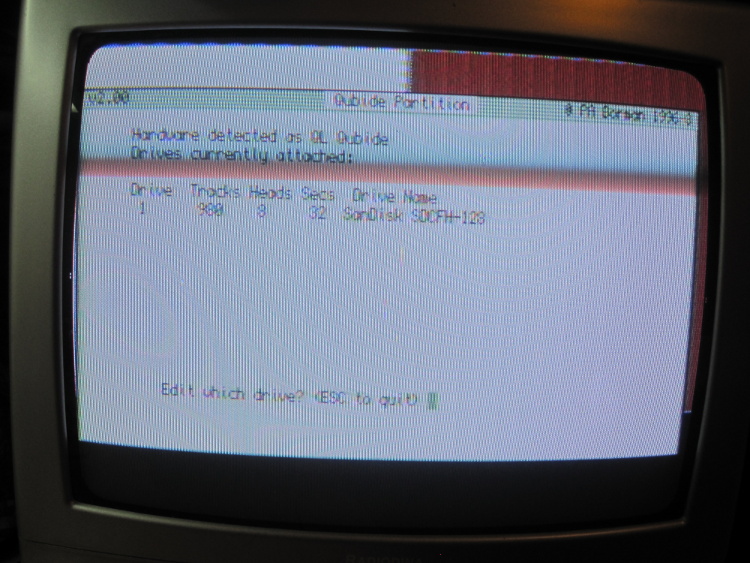
tutorial. Start the sinclair QL (preferably in monitor mode) and run EXEC_W WIN1_PARTITION_EXE. It'll appear a screen similar to this one:
In this example, partition_exe program detect a 128MB Sandisk Compact Flash. The program will ask you which drive you want
to use (1). Press ENTER and then the program will ask you if the activity led is ON ( Ok in my CF adapter) and you'll press ENTER.
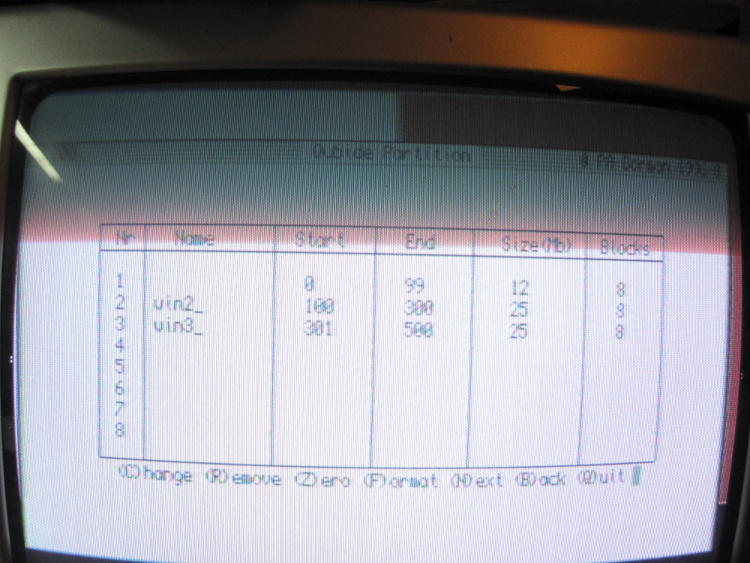
Now it'll appear the screen where you'll can create, delete, format your IDE device:
In this example, there is a 12MB primary partition and two 25MB secondary partitions called win2_ and win3_.
Note: The primary partiton can not be create or modify with partition_exe program. First use device with size <= 128MB tecnic
to create it (max size is 128MB) and the use partition_exe program to create secondary partitions. Please read the original explanation.
Once finished, we will close the application and reset the QL to take effect the changes.
2015 José Leandro Novellón